How to Setup Mail in iPad
You may be one of the Apple iPad user and at a first hand everything will not as easy as you think. Before going to use an email functionality, you need to setup Email Account in Apple iPad. Here we have a quick and easy guide which will help you to setup an Email Account in Apple iPad.
Setup Email Account For iPad
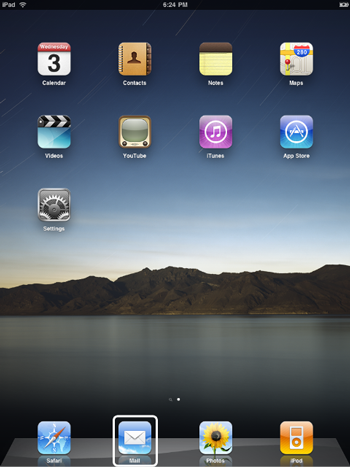
- Tap Mail
- Select your account type. Tap Other if your account is not listed.
- Enter your account information and tap Save. Mail configures most email accounts automatically. Otherwise, you will be prompted for any additional settings.
- Once your account information is saved you can start sending and receiving email.
You can configure additional accounts by tapping Settings > Mail, Contacts, Calendars > Add Account
Check SMTP settings
- Tap Settings > Mail, Contacts, Calendars. Under Accounts, tap the account from which youre trying to send mail.
- Under Outgoing Mail Server, tap SMTP.
- Tap the SMTP server for your email account and verify the settings are correct.
- If you have multiple email accounts on iPad, try using an SMTP server from another account. Tap the SMTP account and Select On on the On/Off slider.
Set up account directly on iPad
Mail settings may vary between computers and mobile devices. If youve synced your email account using iTunes, setting it up directly on your iPad will help ensure you have the correct settings in place.
Tap Settings > Mail, Contacts, Calendars, and then tap your email provider.
If you already have an account on your iPad, tap Add Account, then tap your email provider.
Restart iPad
To restart iPad, first turn iPad off by pressing and holding the Sleep/Wake button until a red slider appears. Slide your finger across the slider and iPad will turn off after a few moments.
Next, turn iPad on by pressing and holding the Sleep/Wake button until the Apple logo appears.